> ## Documentation Index
> Fetch the complete documentation index at: https://docs.lindy.ai/llms.txt
> Use this file to discover all available pages before exploring further.
# Create a Workflow
> Build a custom workflow in Lindy using triggers, actions, and conditions.
## What is a Workflow?
Workflows are how you tell a custom agent what to do. In the flow editor, you define the trigger, steps, logic, and integrations that run the job from start to finish.
Use workflows when you want Lindy to handle a repeatable process with your own rules, like lead enrichment, support routing, document processing, or follow-up logic.
## How to Create a Workflow
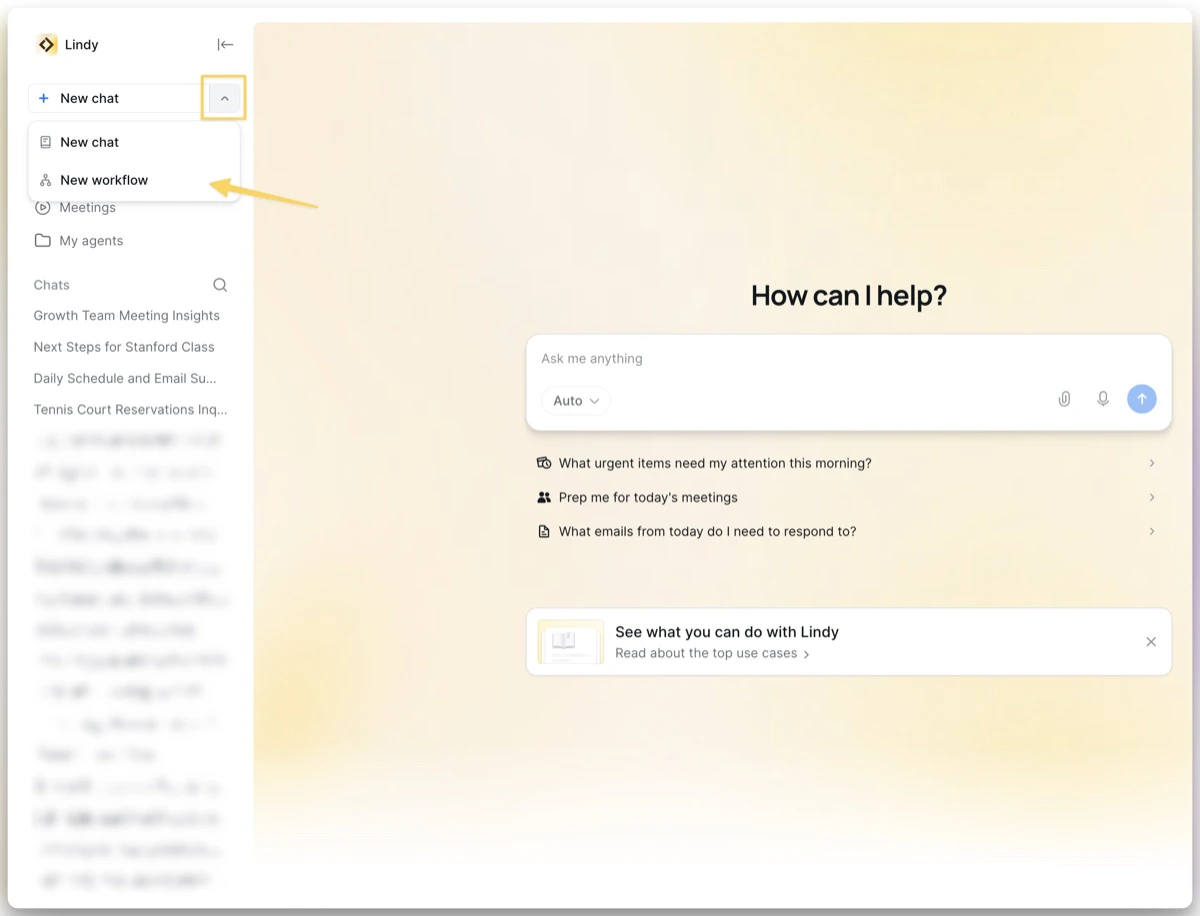
In the **top left** of your Lindy dashboard, click the chevron (▾) next to **+ New chat** to open the dropdown. Select **New workflow**.
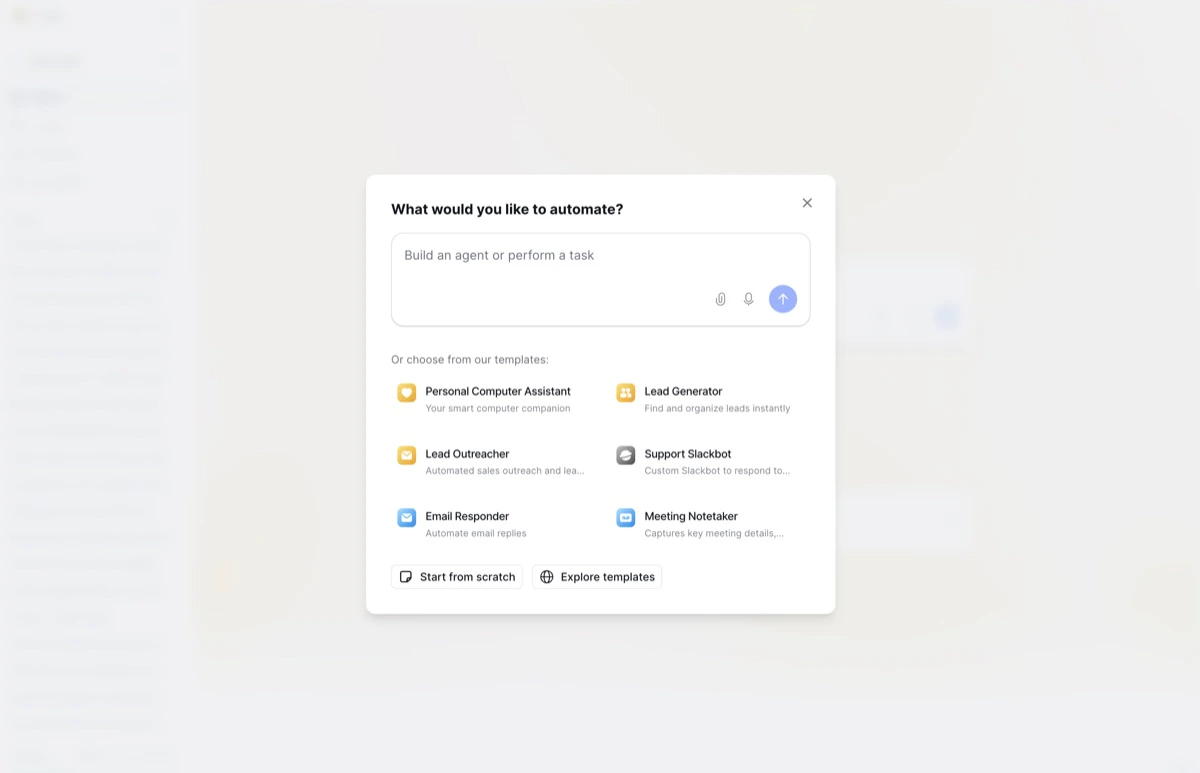
 You'll see a modal with popular templates like Meeting Notetaker, Lead Generator, and Email Responder. Pick one to get started quickly, or click **Start from scratch** to build your own from a blank canvas.
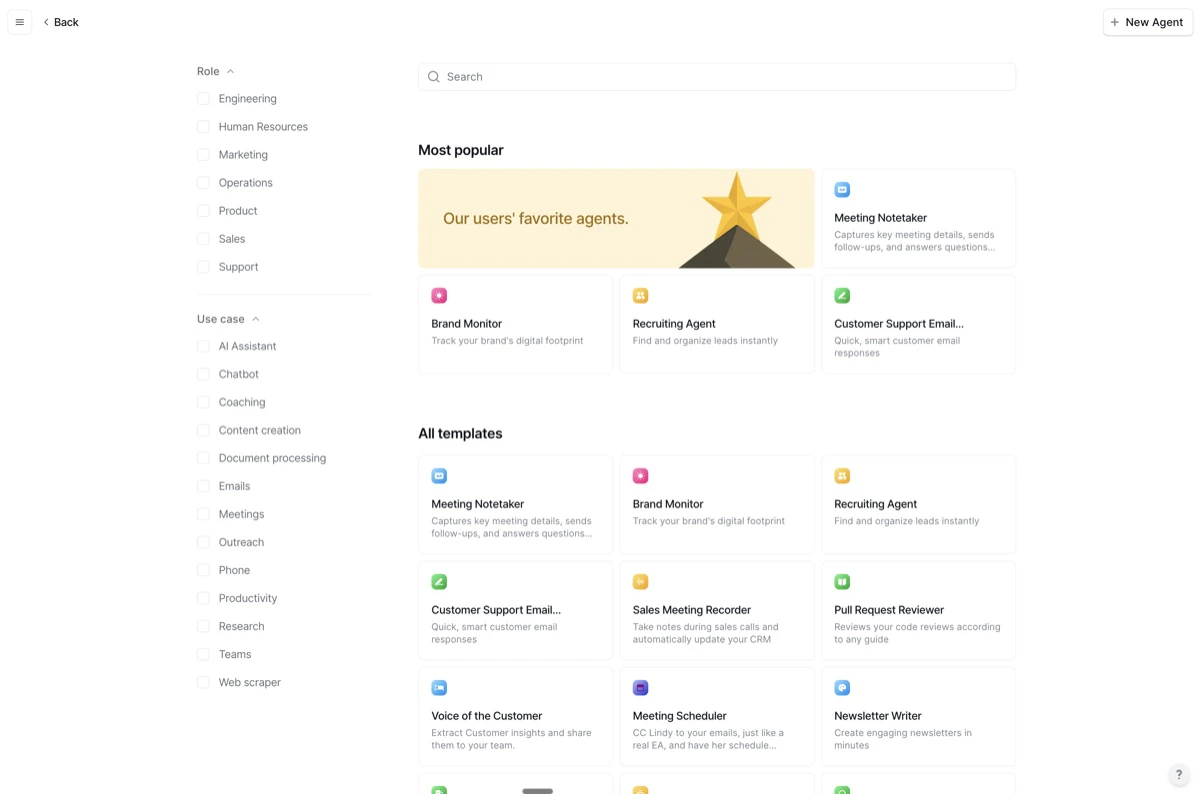
 Click **Explore templates** to browse the full template gallery.
 You're now in the **flow editor**. Start by adding a [trigger](/fundamentals/lindy-101/triggers): the event that wakes up your agent and kicks off the workflow. Click the plus sign or right-click on the canvas and select "Add Trigger."
Common triggers: new email received, new calendar event, scheduled time, chat message, webhook, and more.
After your trigger, add [actions](/fundamentals/lindy-101/actions): the steps your workflow takes after it starts. Connect integrations, add [conditions](/fundamentals/lindy-101/conditions) for branching logic, or use [agent steps](/fundamentals/lindy-101/ai-agents) when the next step depends on AI reasoning.
Once your workflow is ready, toggle it on. It will start running automatically whenever the trigger fires. You can monitor task runs in the [Tasks view](/testing/monitoring-your-agents).
## What's Next
Learn about all the events that can start a workflow
Explore what actions can do in a workflow
Add branching logic to your workflows
Browse pre-built agent templates
You're now in the **flow editor**. Start by adding a [trigger](/fundamentals/lindy-101/triggers): the event that wakes up your agent and kicks off the workflow. Click the plus sign or right-click on the canvas and select "Add Trigger."
Common triggers: new email received, new calendar event, scheduled time, chat message, webhook, and more.
After your trigger, add [actions](/fundamentals/lindy-101/actions): the steps your workflow takes after it starts. Connect integrations, add [conditions](/fundamentals/lindy-101/conditions) for branching logic, or use [agent steps](/fundamentals/lindy-101/ai-agents) when the next step depends on AI reasoning.
Once your workflow is ready, toggle it on. It will start running automatically whenever the trigger fires. You can monitor task runs in the [Tasks view](/testing/monitoring-your-agents).
## What's Next
Learn about all the events that can start a workflow
Explore what actions can do in a workflow
Add branching logic to your workflows
Browse pre-built agent templates