Quick Overview
Triggers are events that “wake up” an agent and start a workflow. These can include time-based triggers (e.g., every weekday at 9 am), chat-based triggers (when a user starts a new chat), or event-based triggers (e.g., when you receive an email). A single agent can have multiple triggers, either managing different workflows or acting as entry points into the same workflow.How to add a trigger
1
Create a new Lindy
Click on the plus sign at the bottom or right-click anywhere on the canvas and select “Add Trigger” from the pop-up menu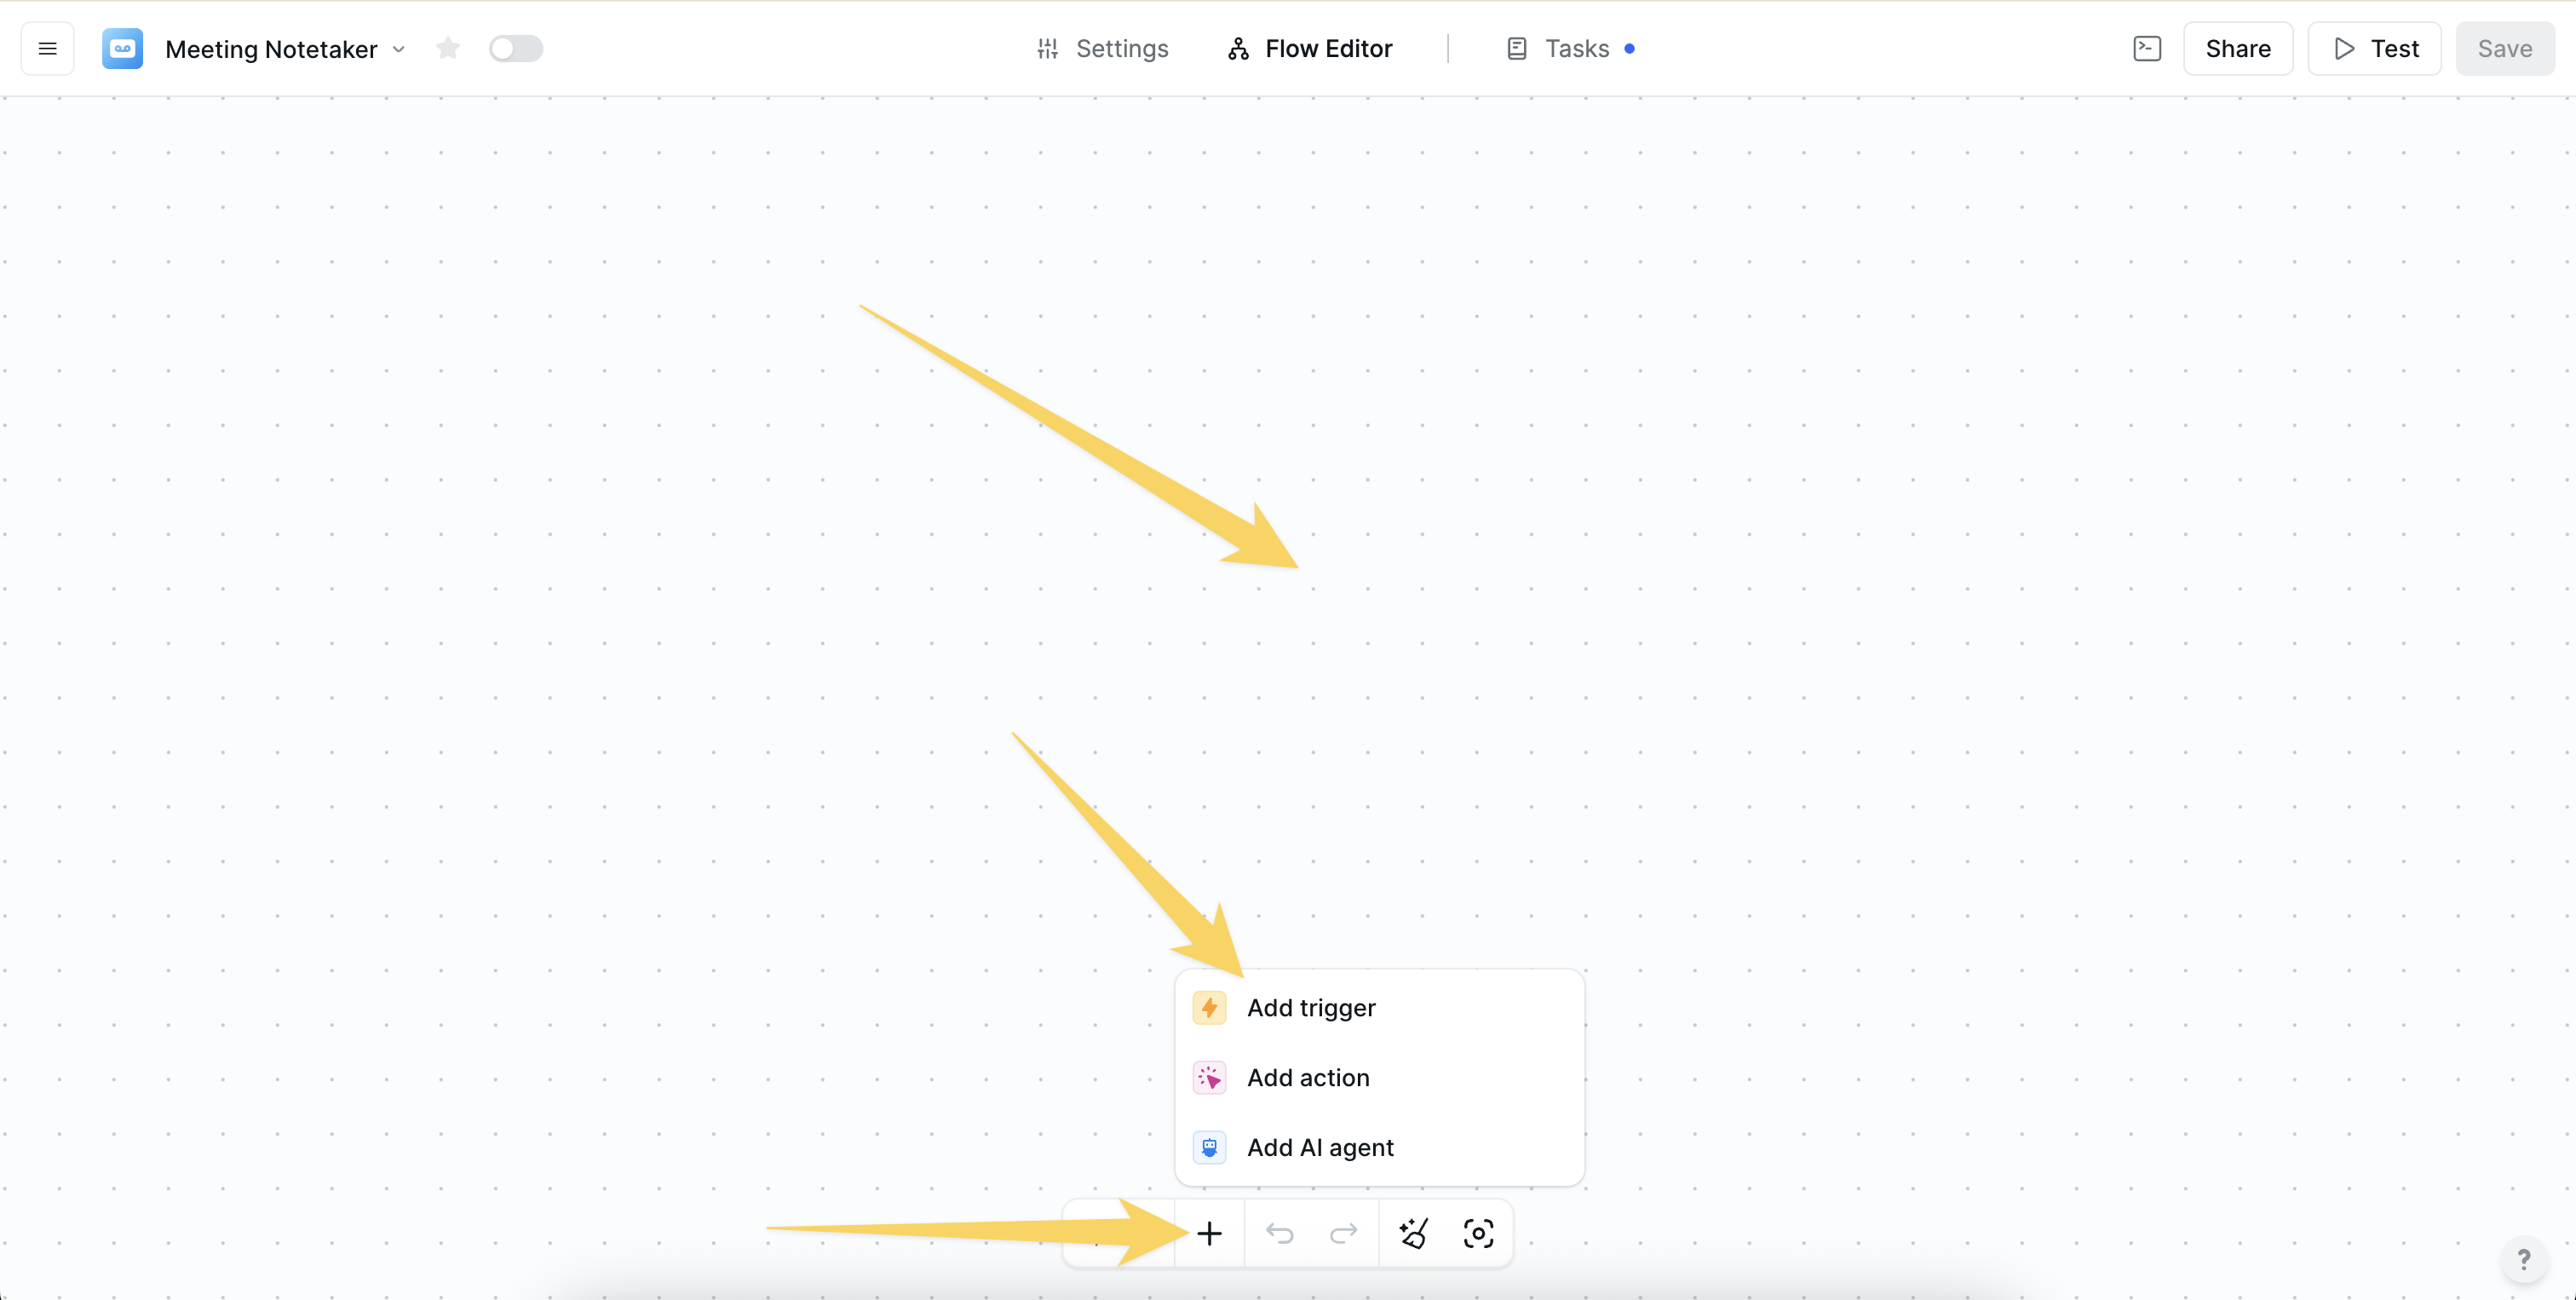
2
Select your trigger
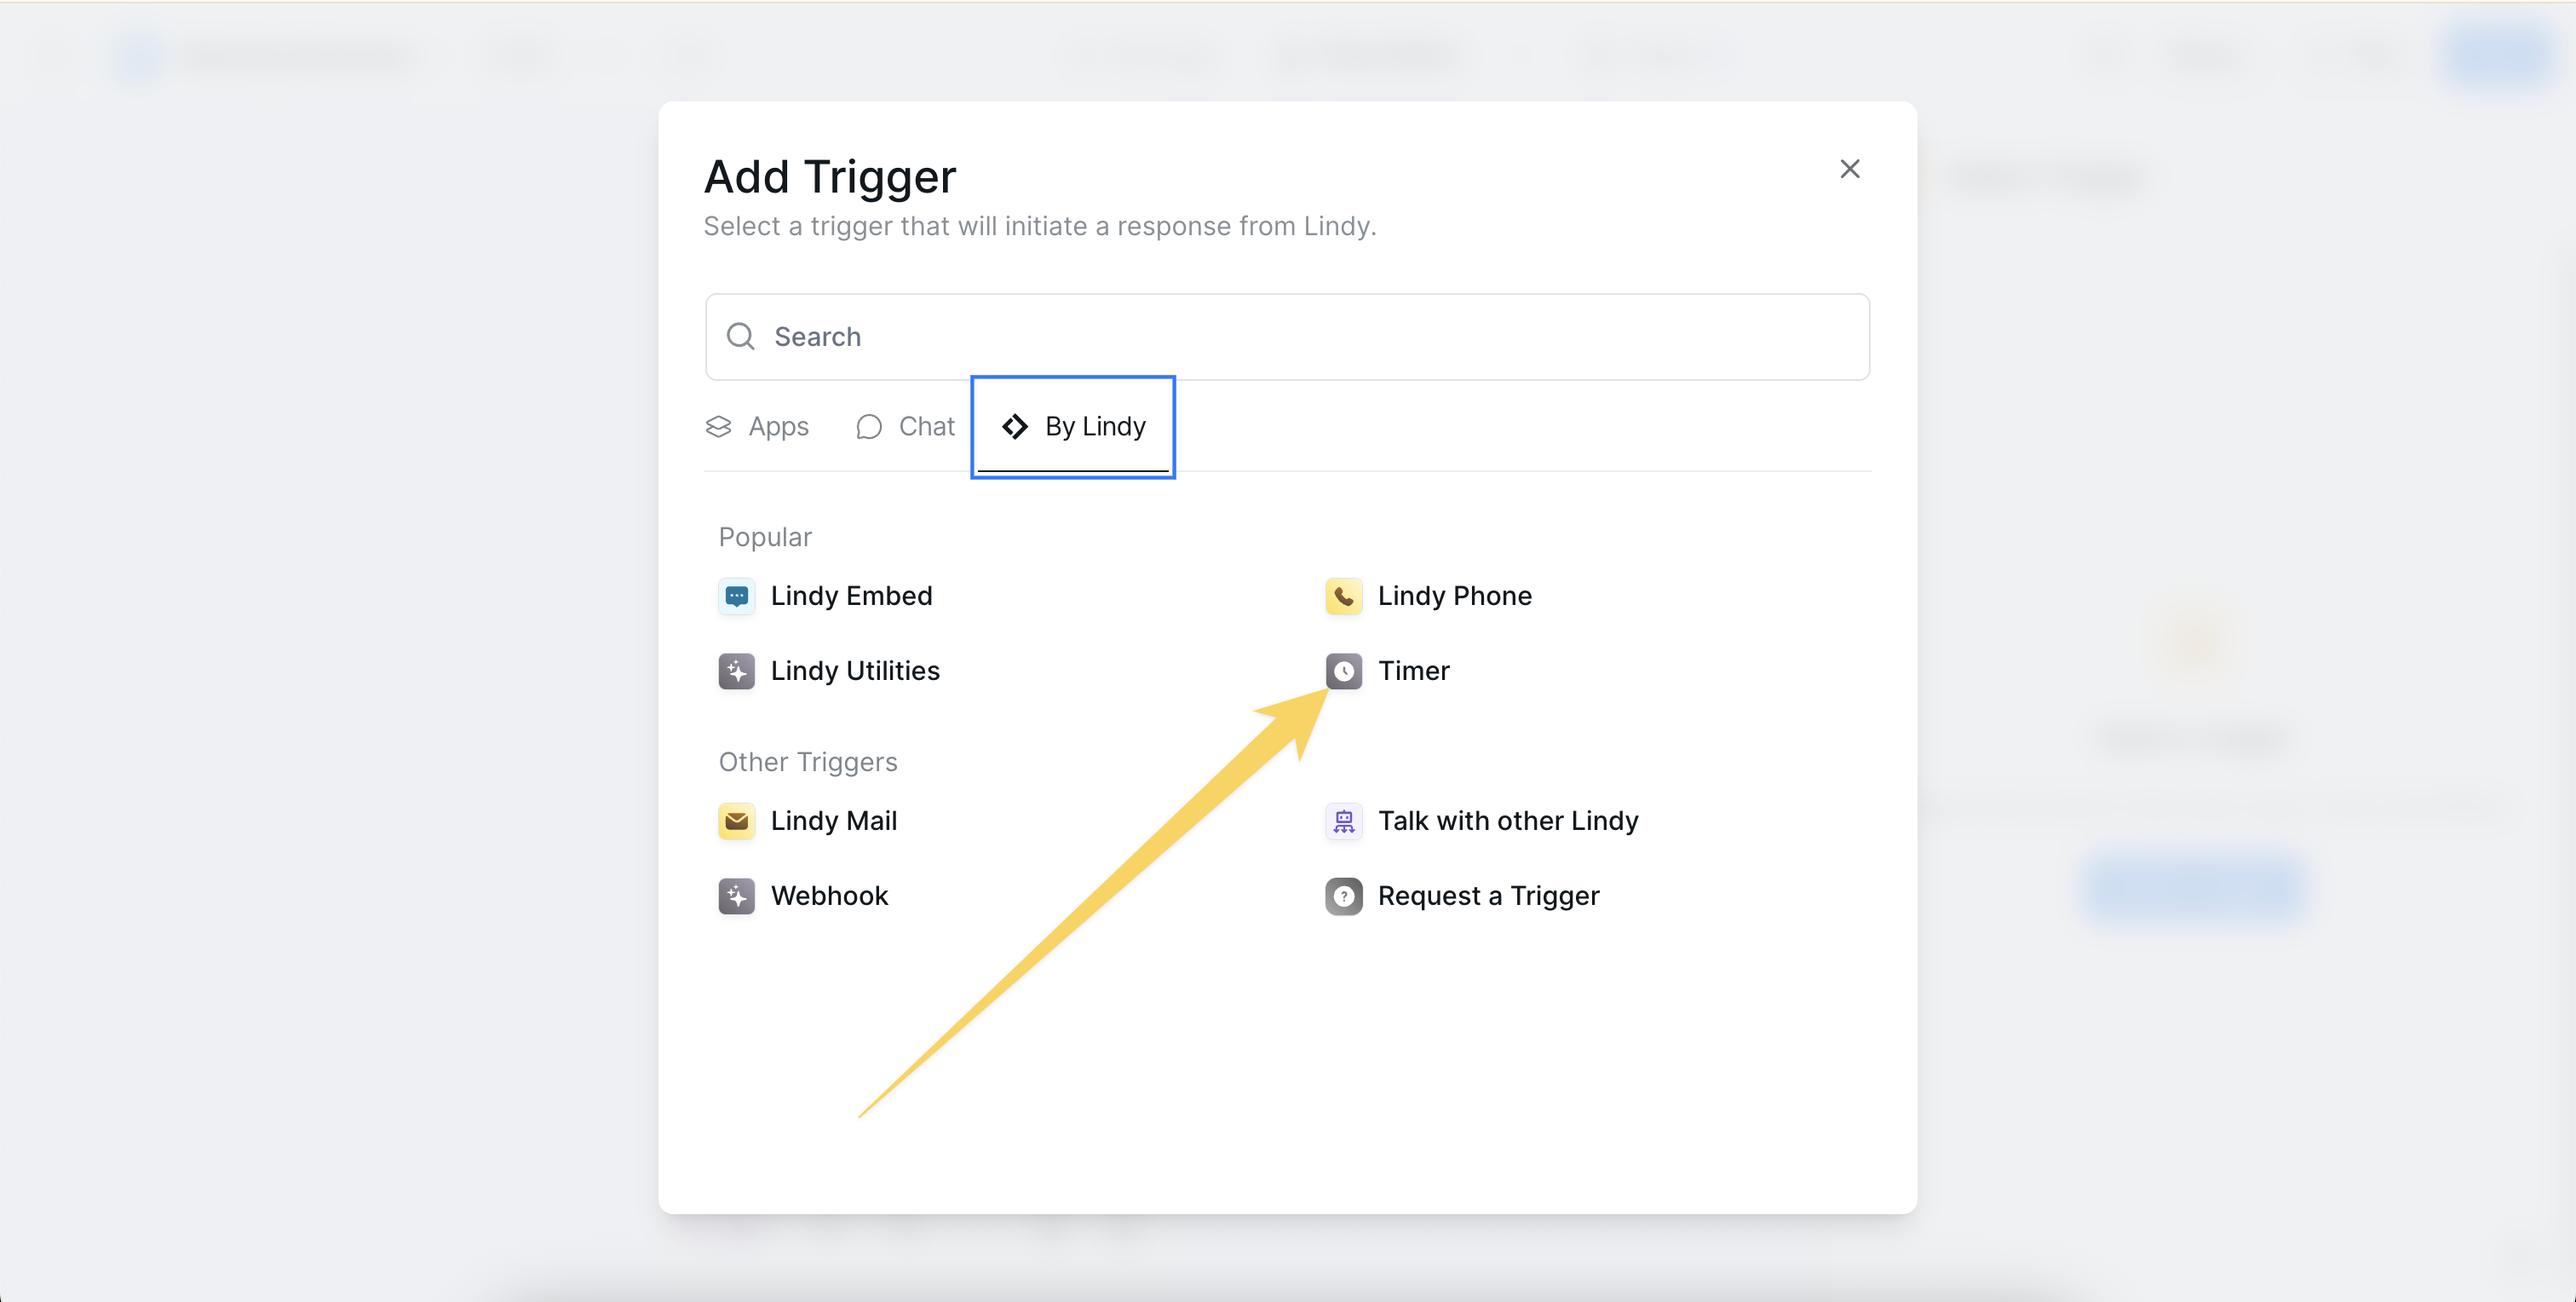
Click “Select Trigger” and search for a tool or trigger that will initiate a response from Lindy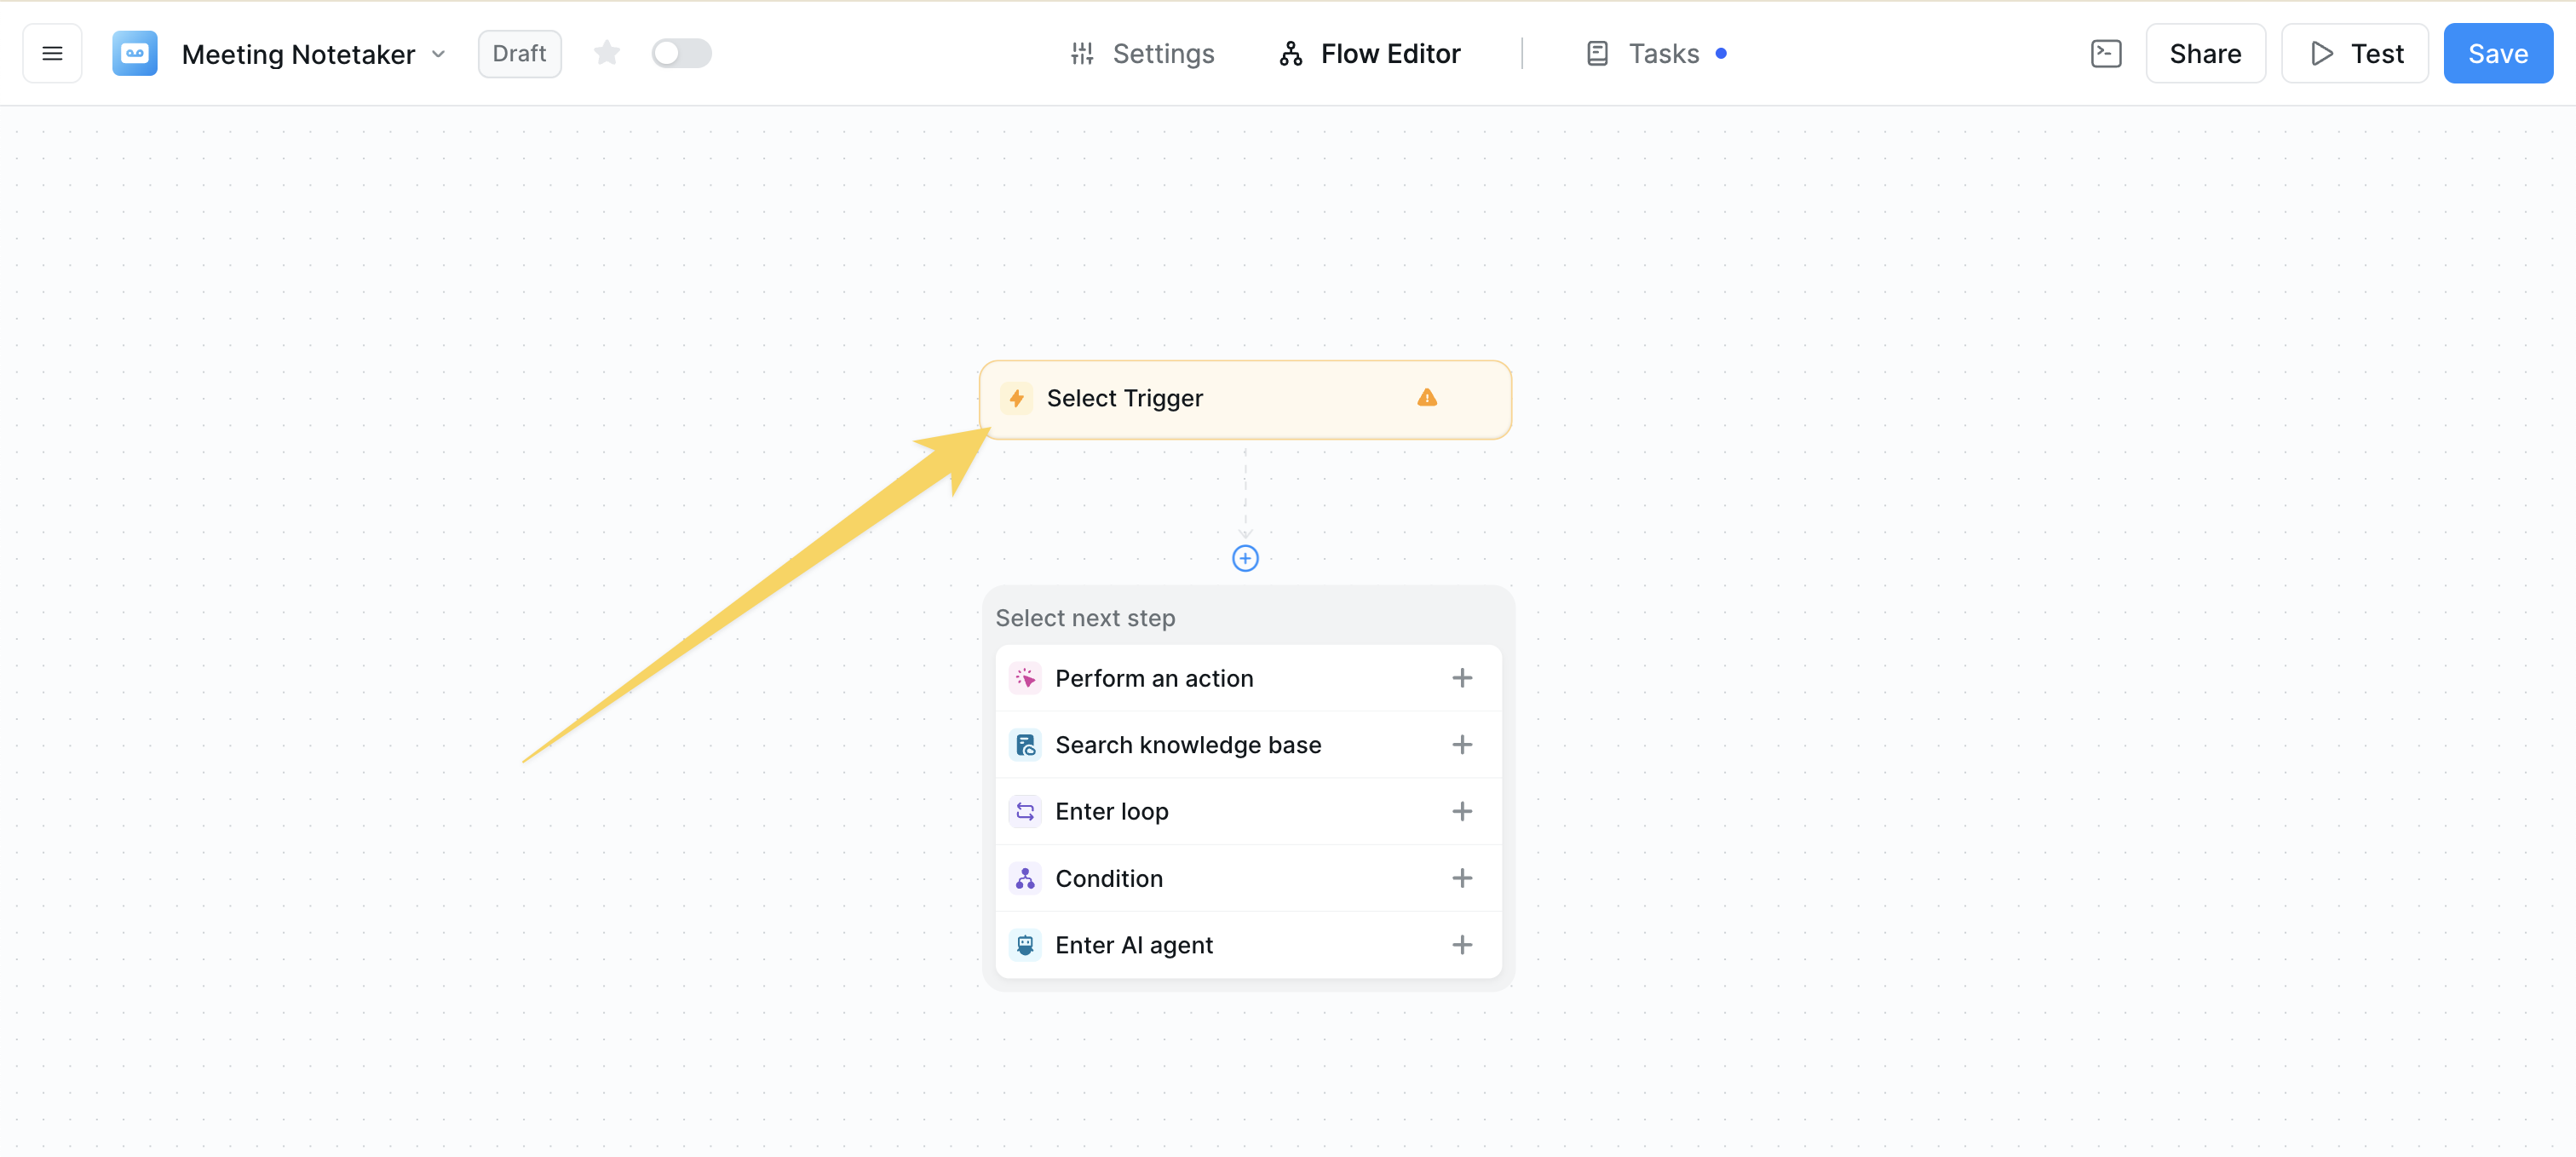
3
Authorize your account
If it’s your first time, authorize your desired account and select which account to use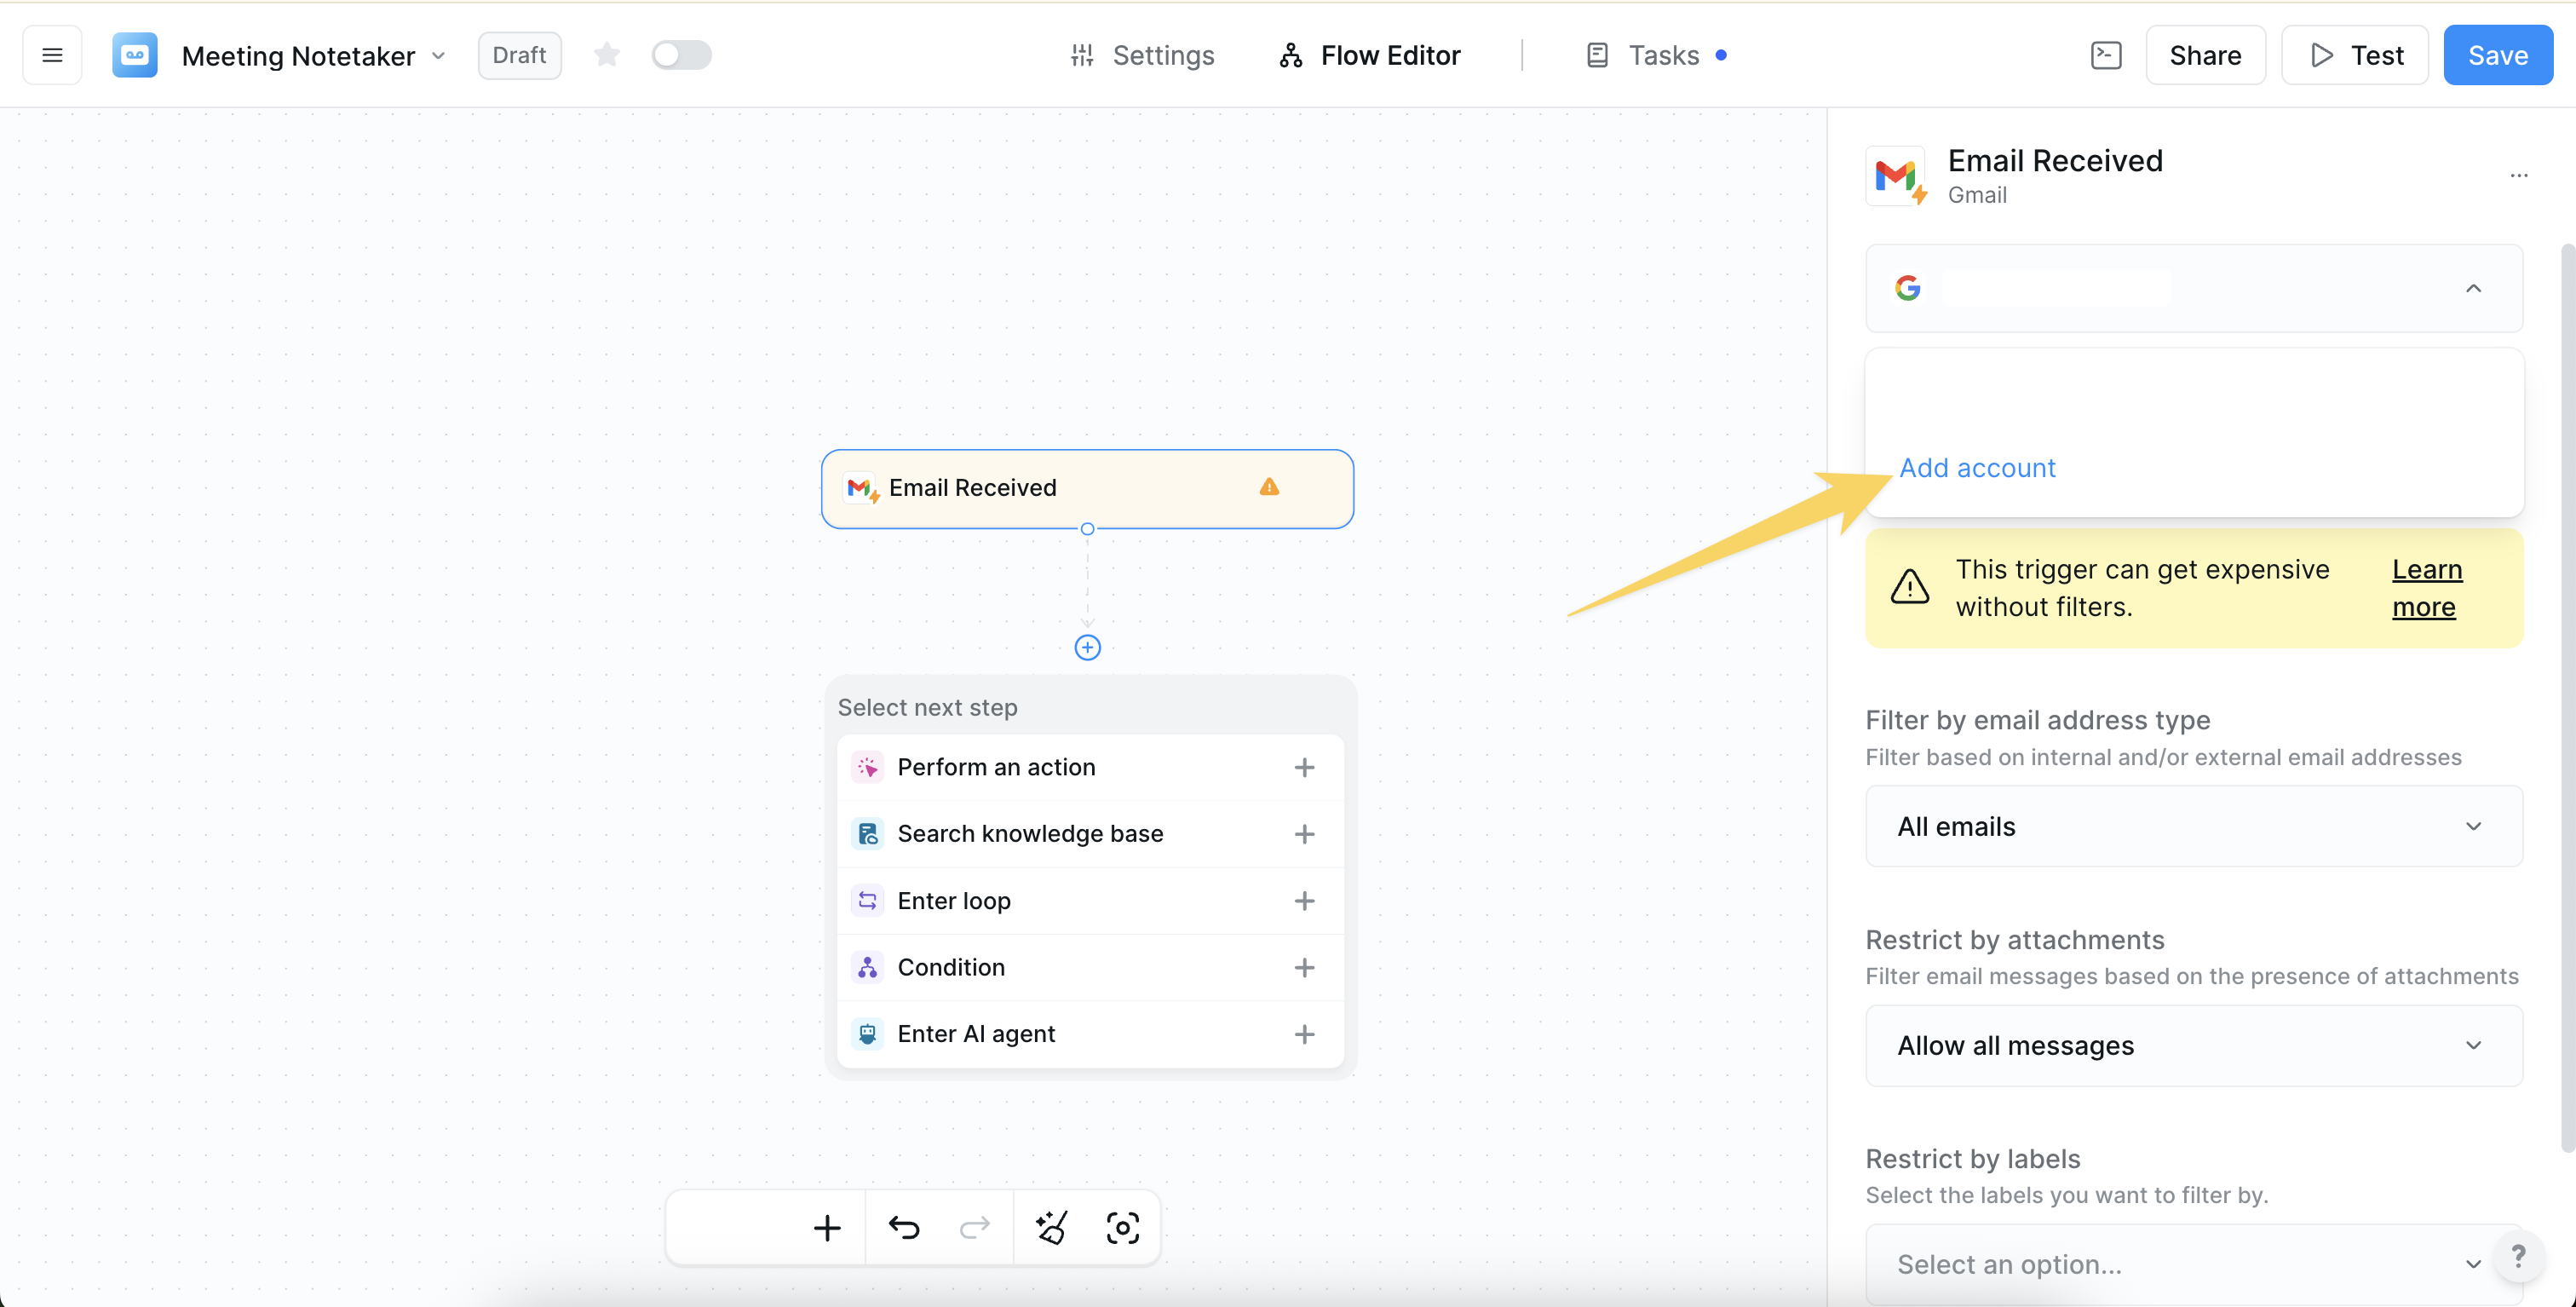
Types of triggers
Time-based triggers
- Every weekday at 9 AM
- Daily at midnight
- Weekly on Monday
- Monthly on the 1st
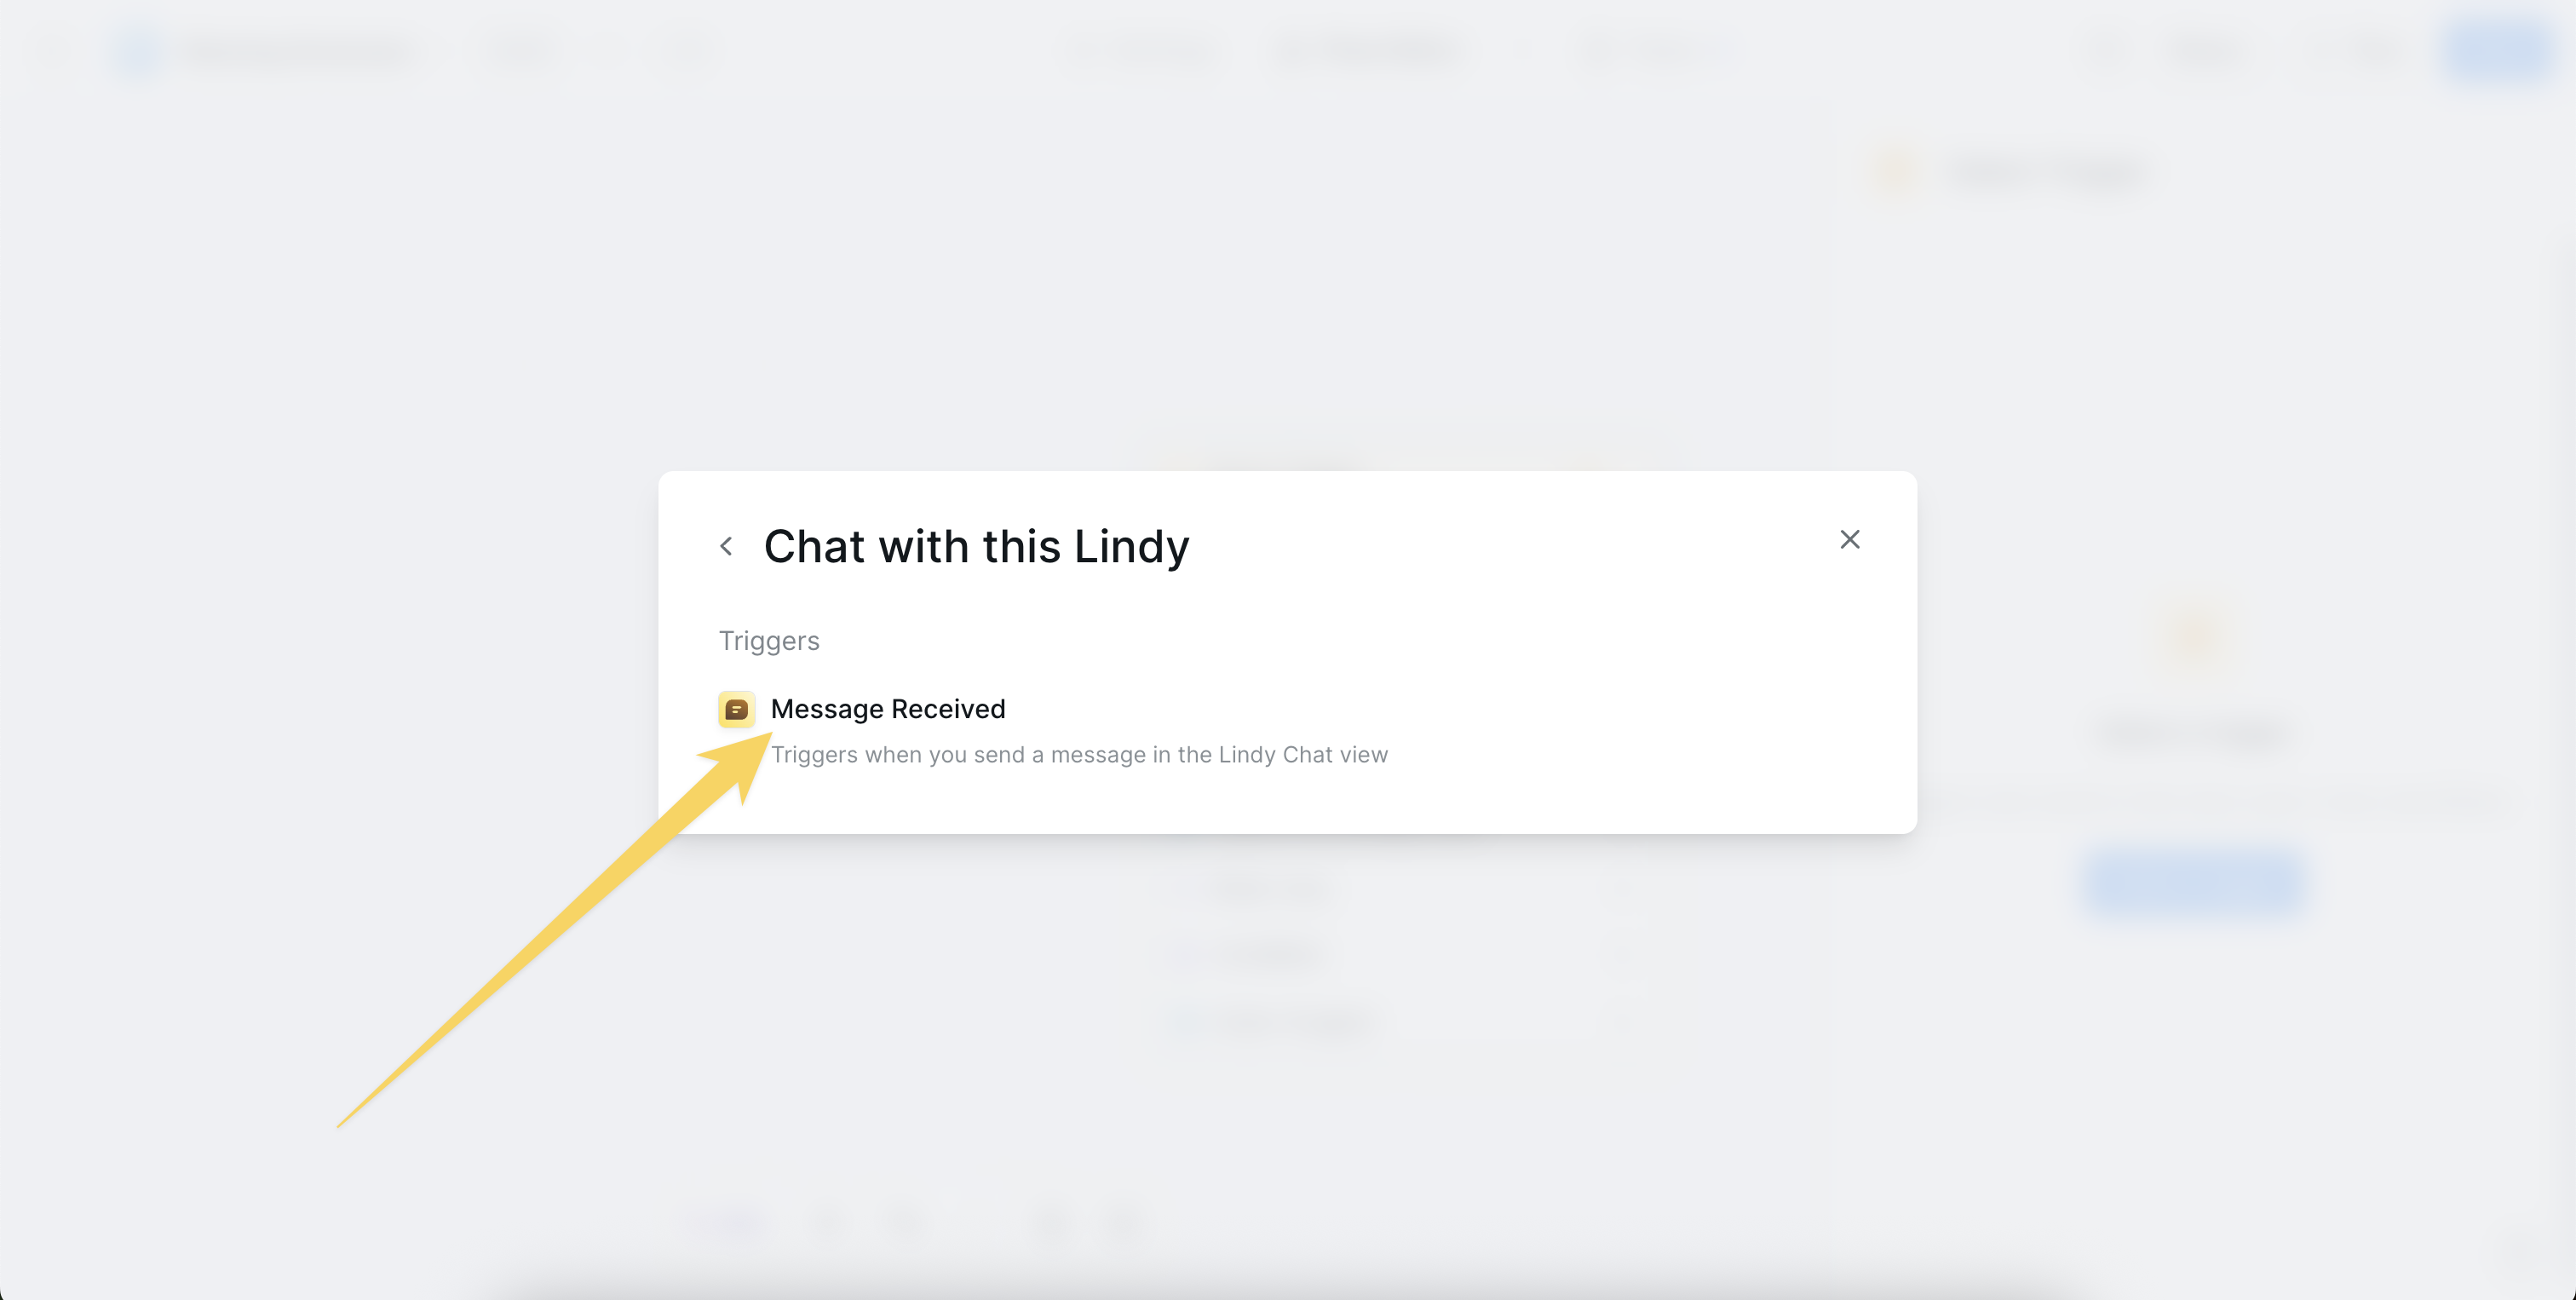
Chat-based triggers
Event-based triggers
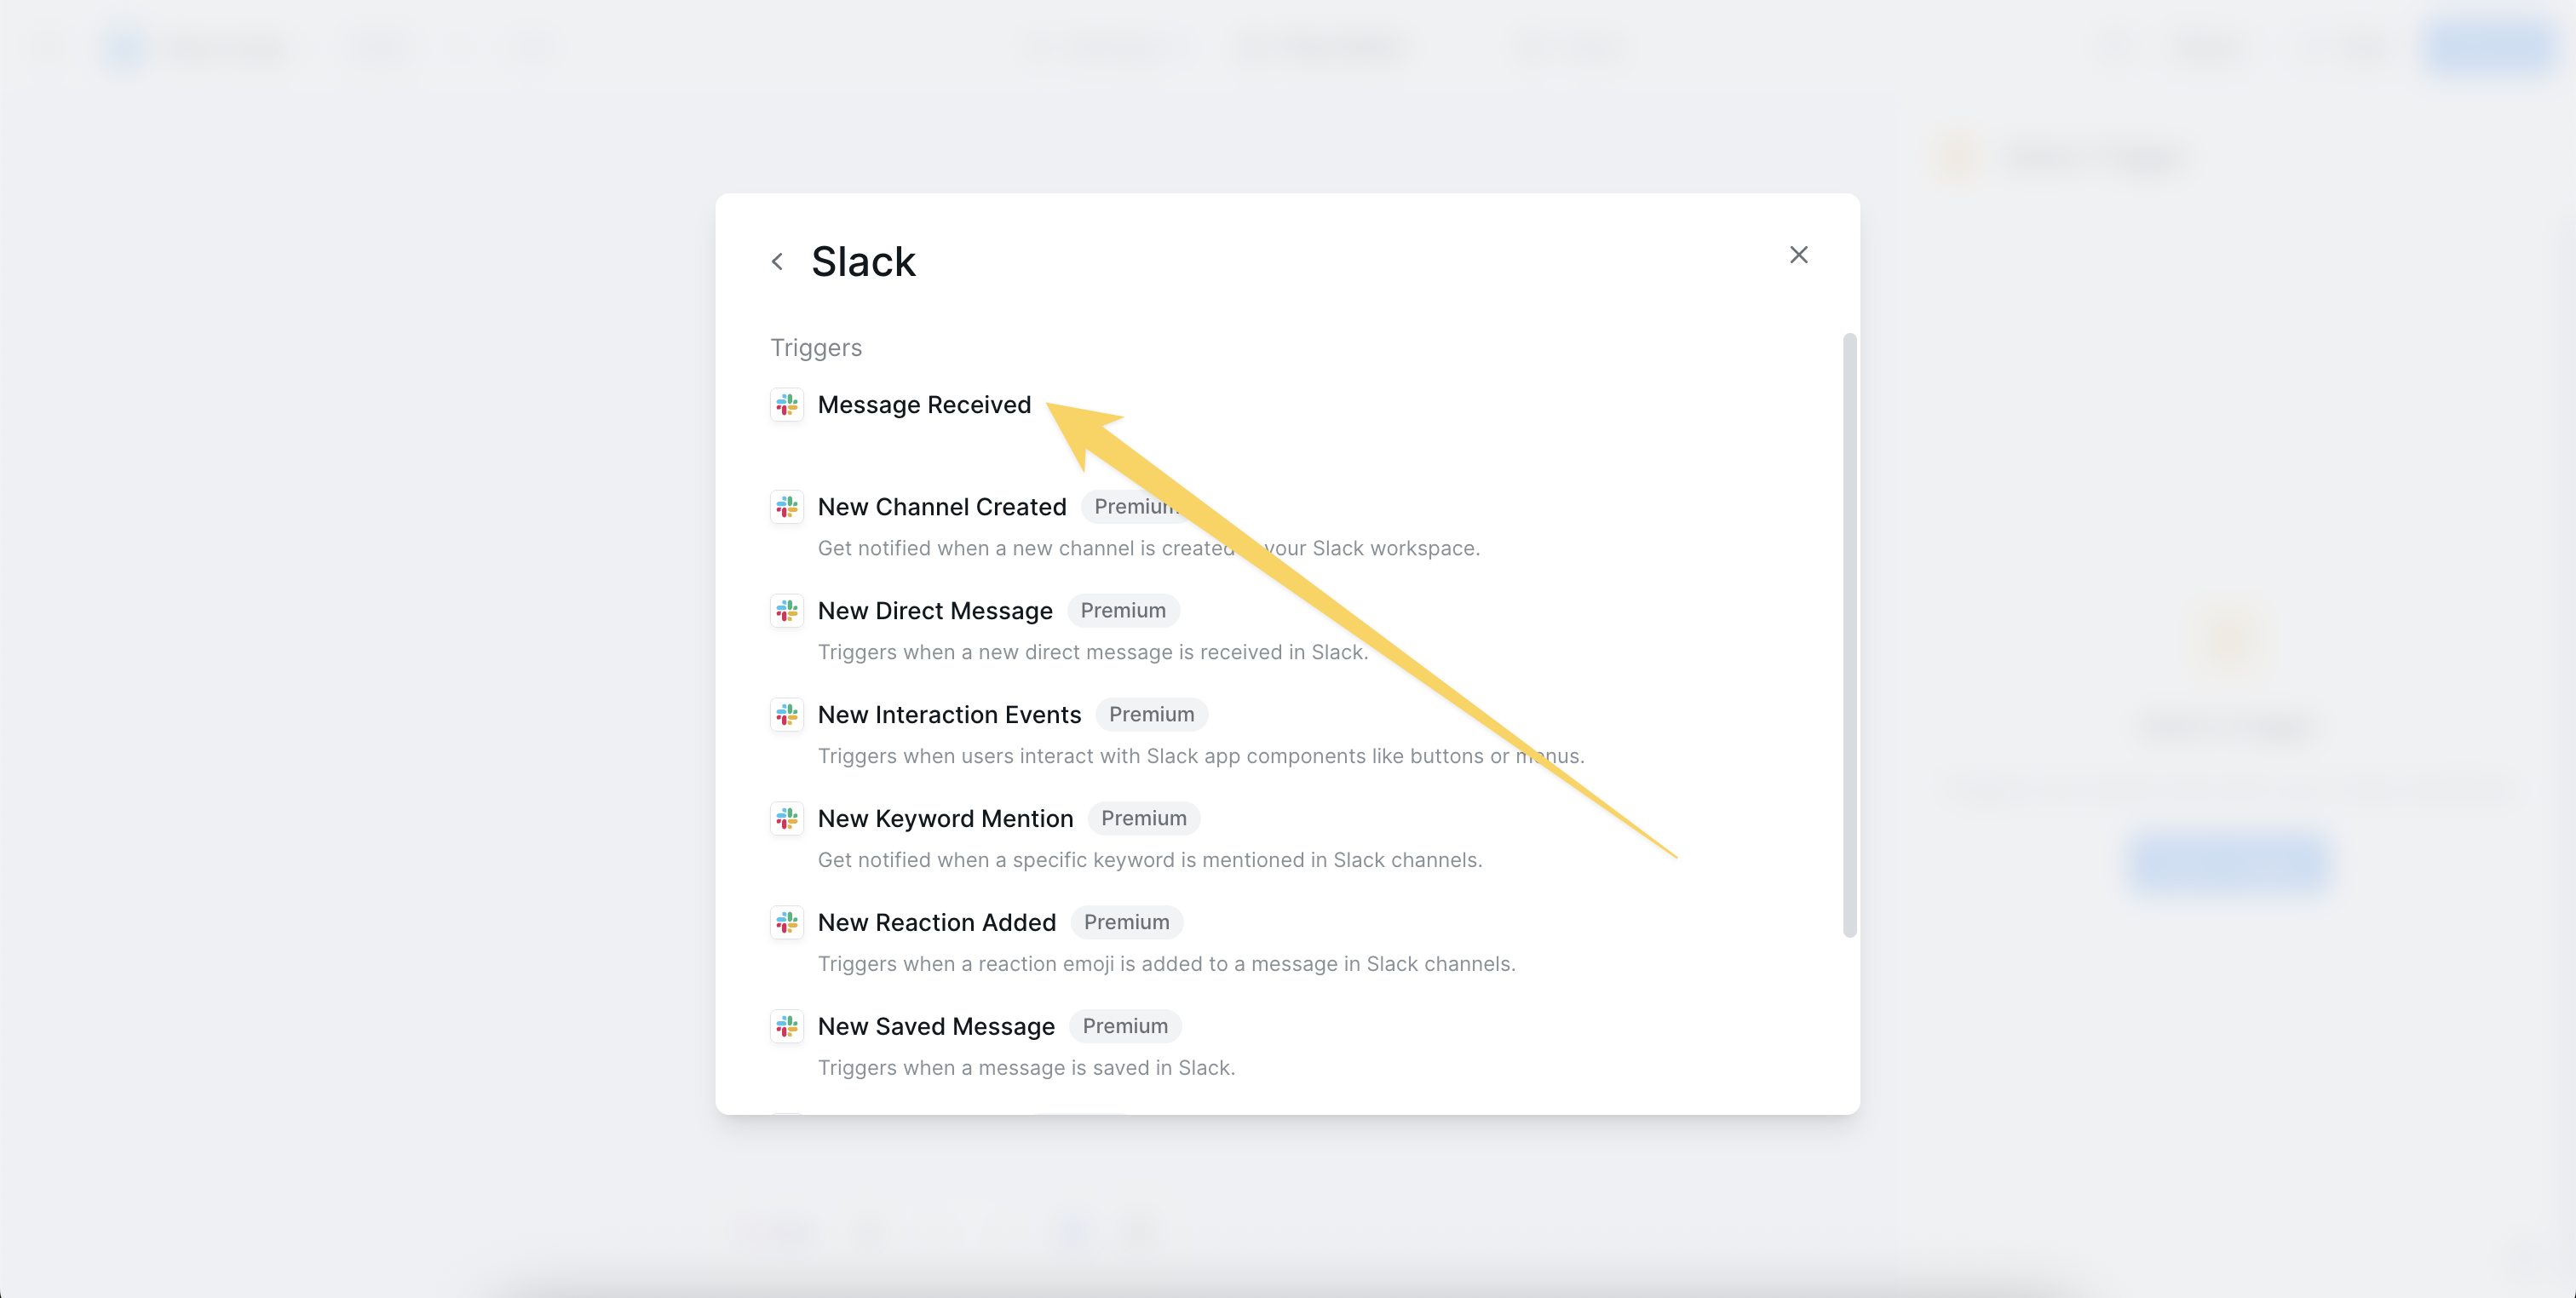
- Slack message received
- Email received
- Calendar event started
- New row added to Google Sheets
- Webhook received
Trigger filters
A trigger filter allows you to set conditional logic to filter which events will cause your agent to wake up and execute the workflow. You can enable trigger filters at the bottom of the trigger configuration settings. This means you do not have to add additional steps to filter out triggering events from your workflow.Example: Email received trigger setup
If you want your agent to process only emails with a specific label, you can configure the Email Received trigger to filter by label. This way, your agent will only wake up and run the workflow when an email with that label arrives.
Filter rules
- Trigger filters are not case-sensitive
- You can add multiple filter conditions and combine them with AND or OR conditions
- Condition Groups allow you to build more complex, nested filtering logic
Example filter
In the example below, your agent will only trigger if:- The Calendar Event name contains “Interview” AND the location contains “1841 Market Street”
- OR the Calendar Event description contains “In-Person Interview”
Setting an Offset
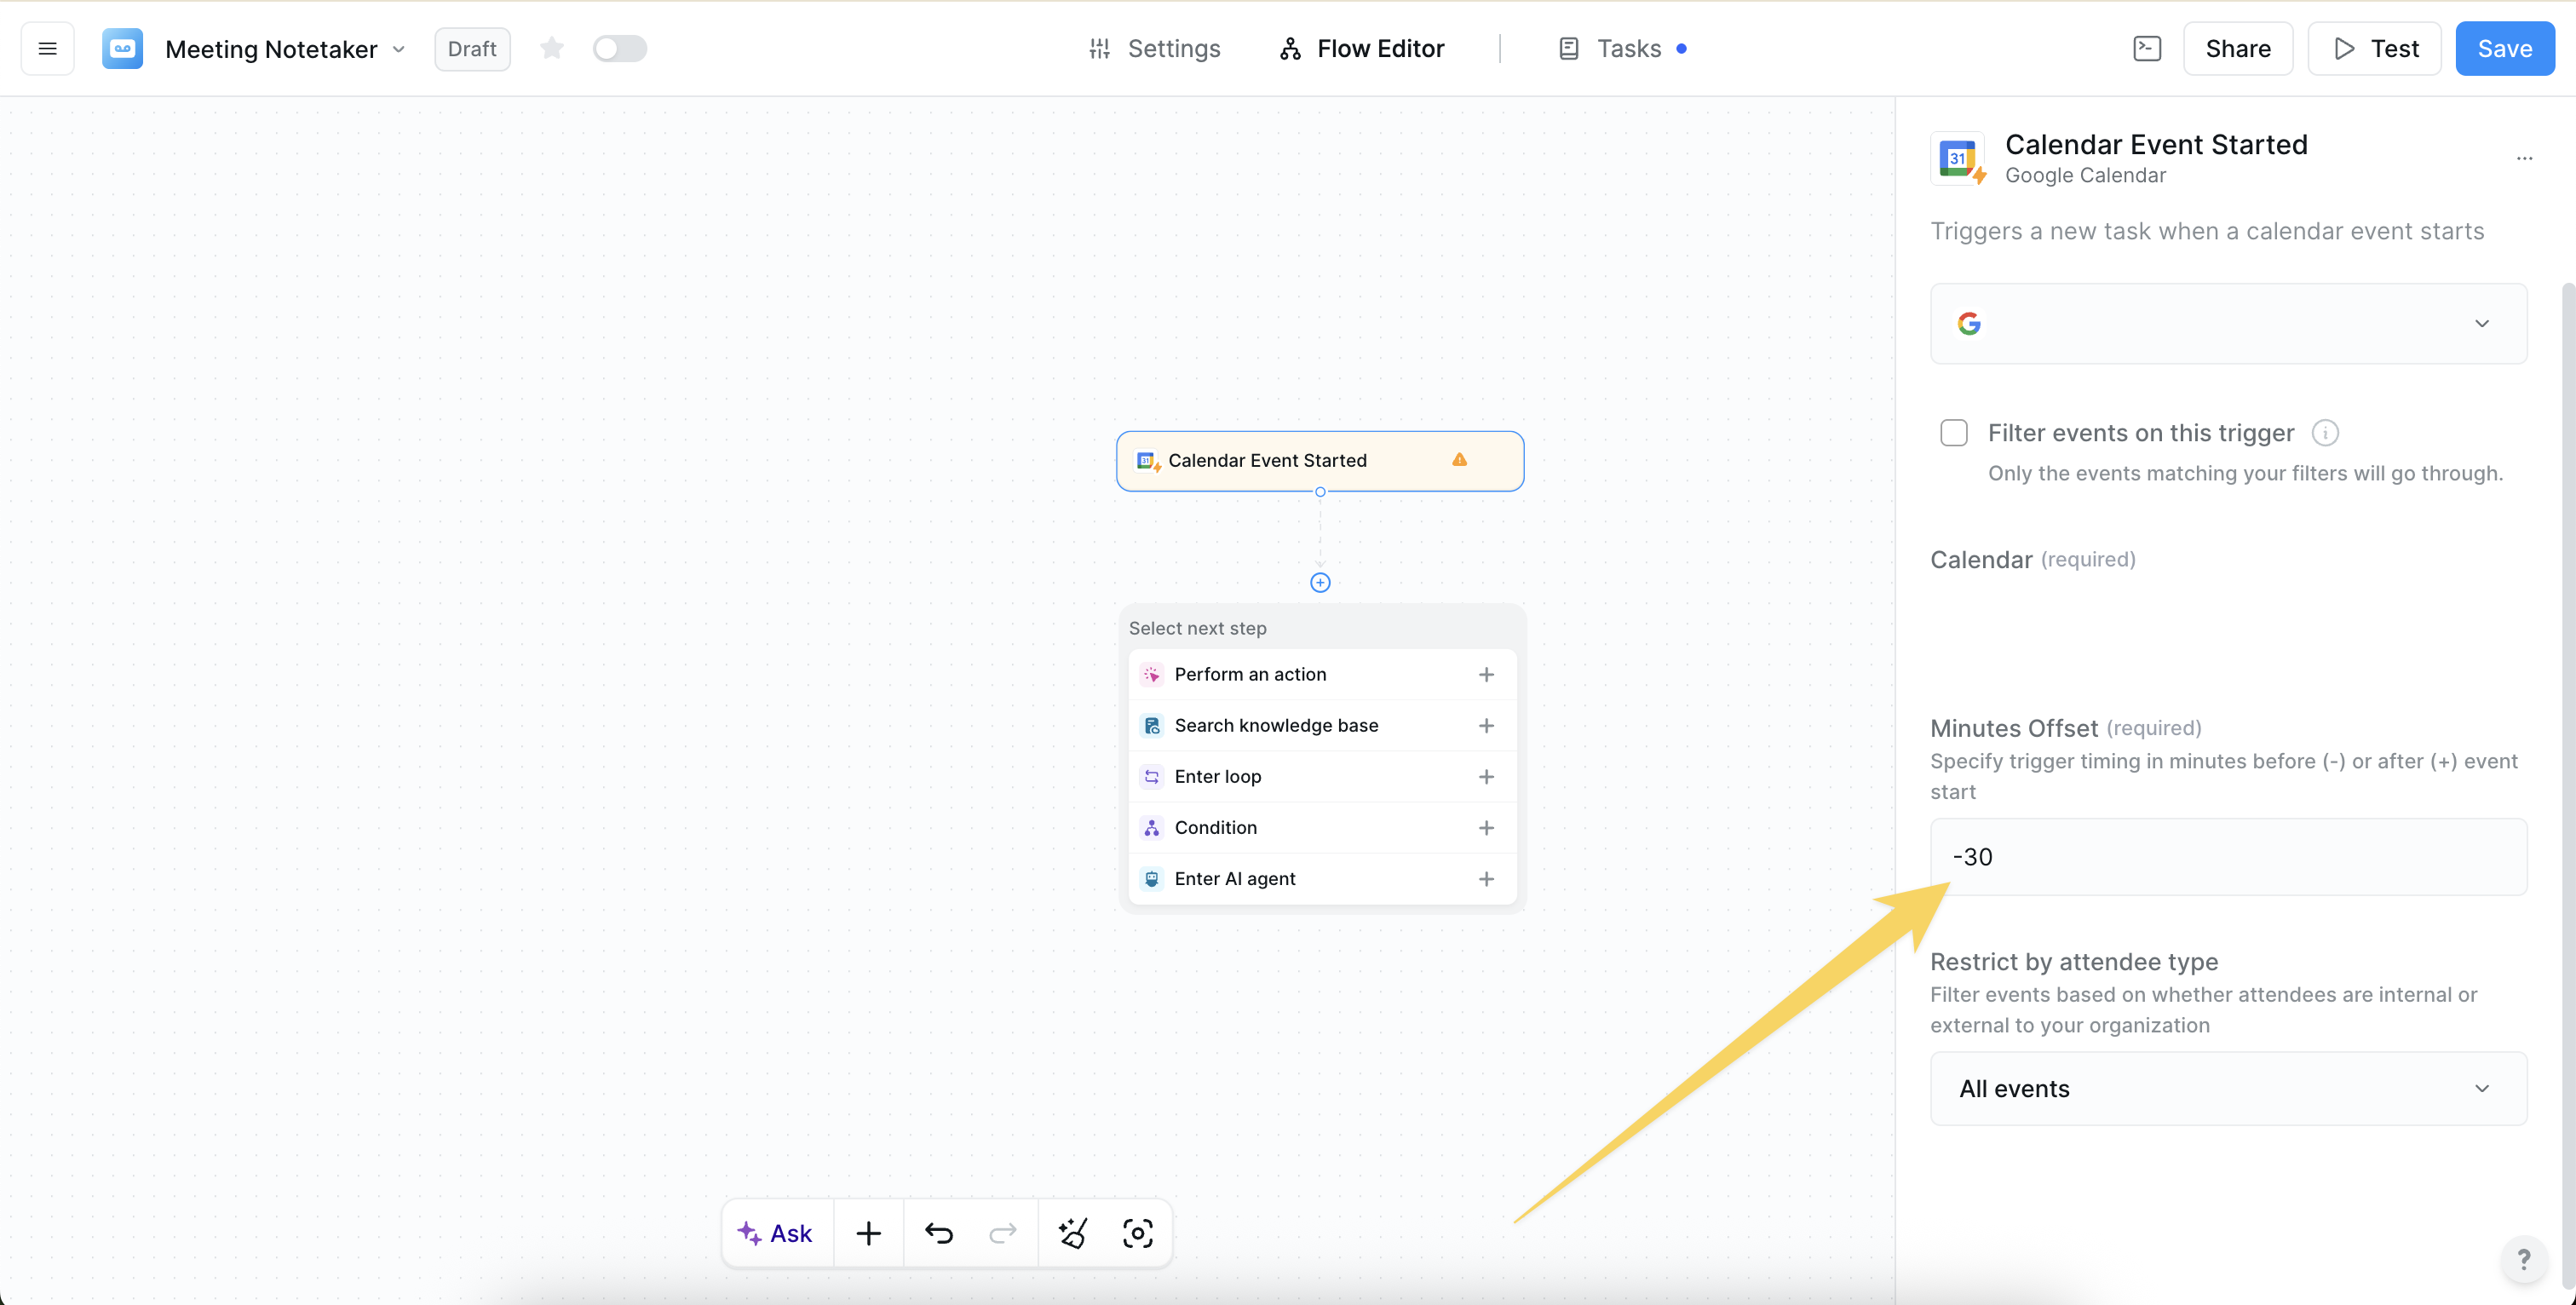
- A negative Minutes Offset (-) sets the trigger before the event start time
- A positive Minutes Offset (+) sets the trigger after the event start time
Multiple triggers
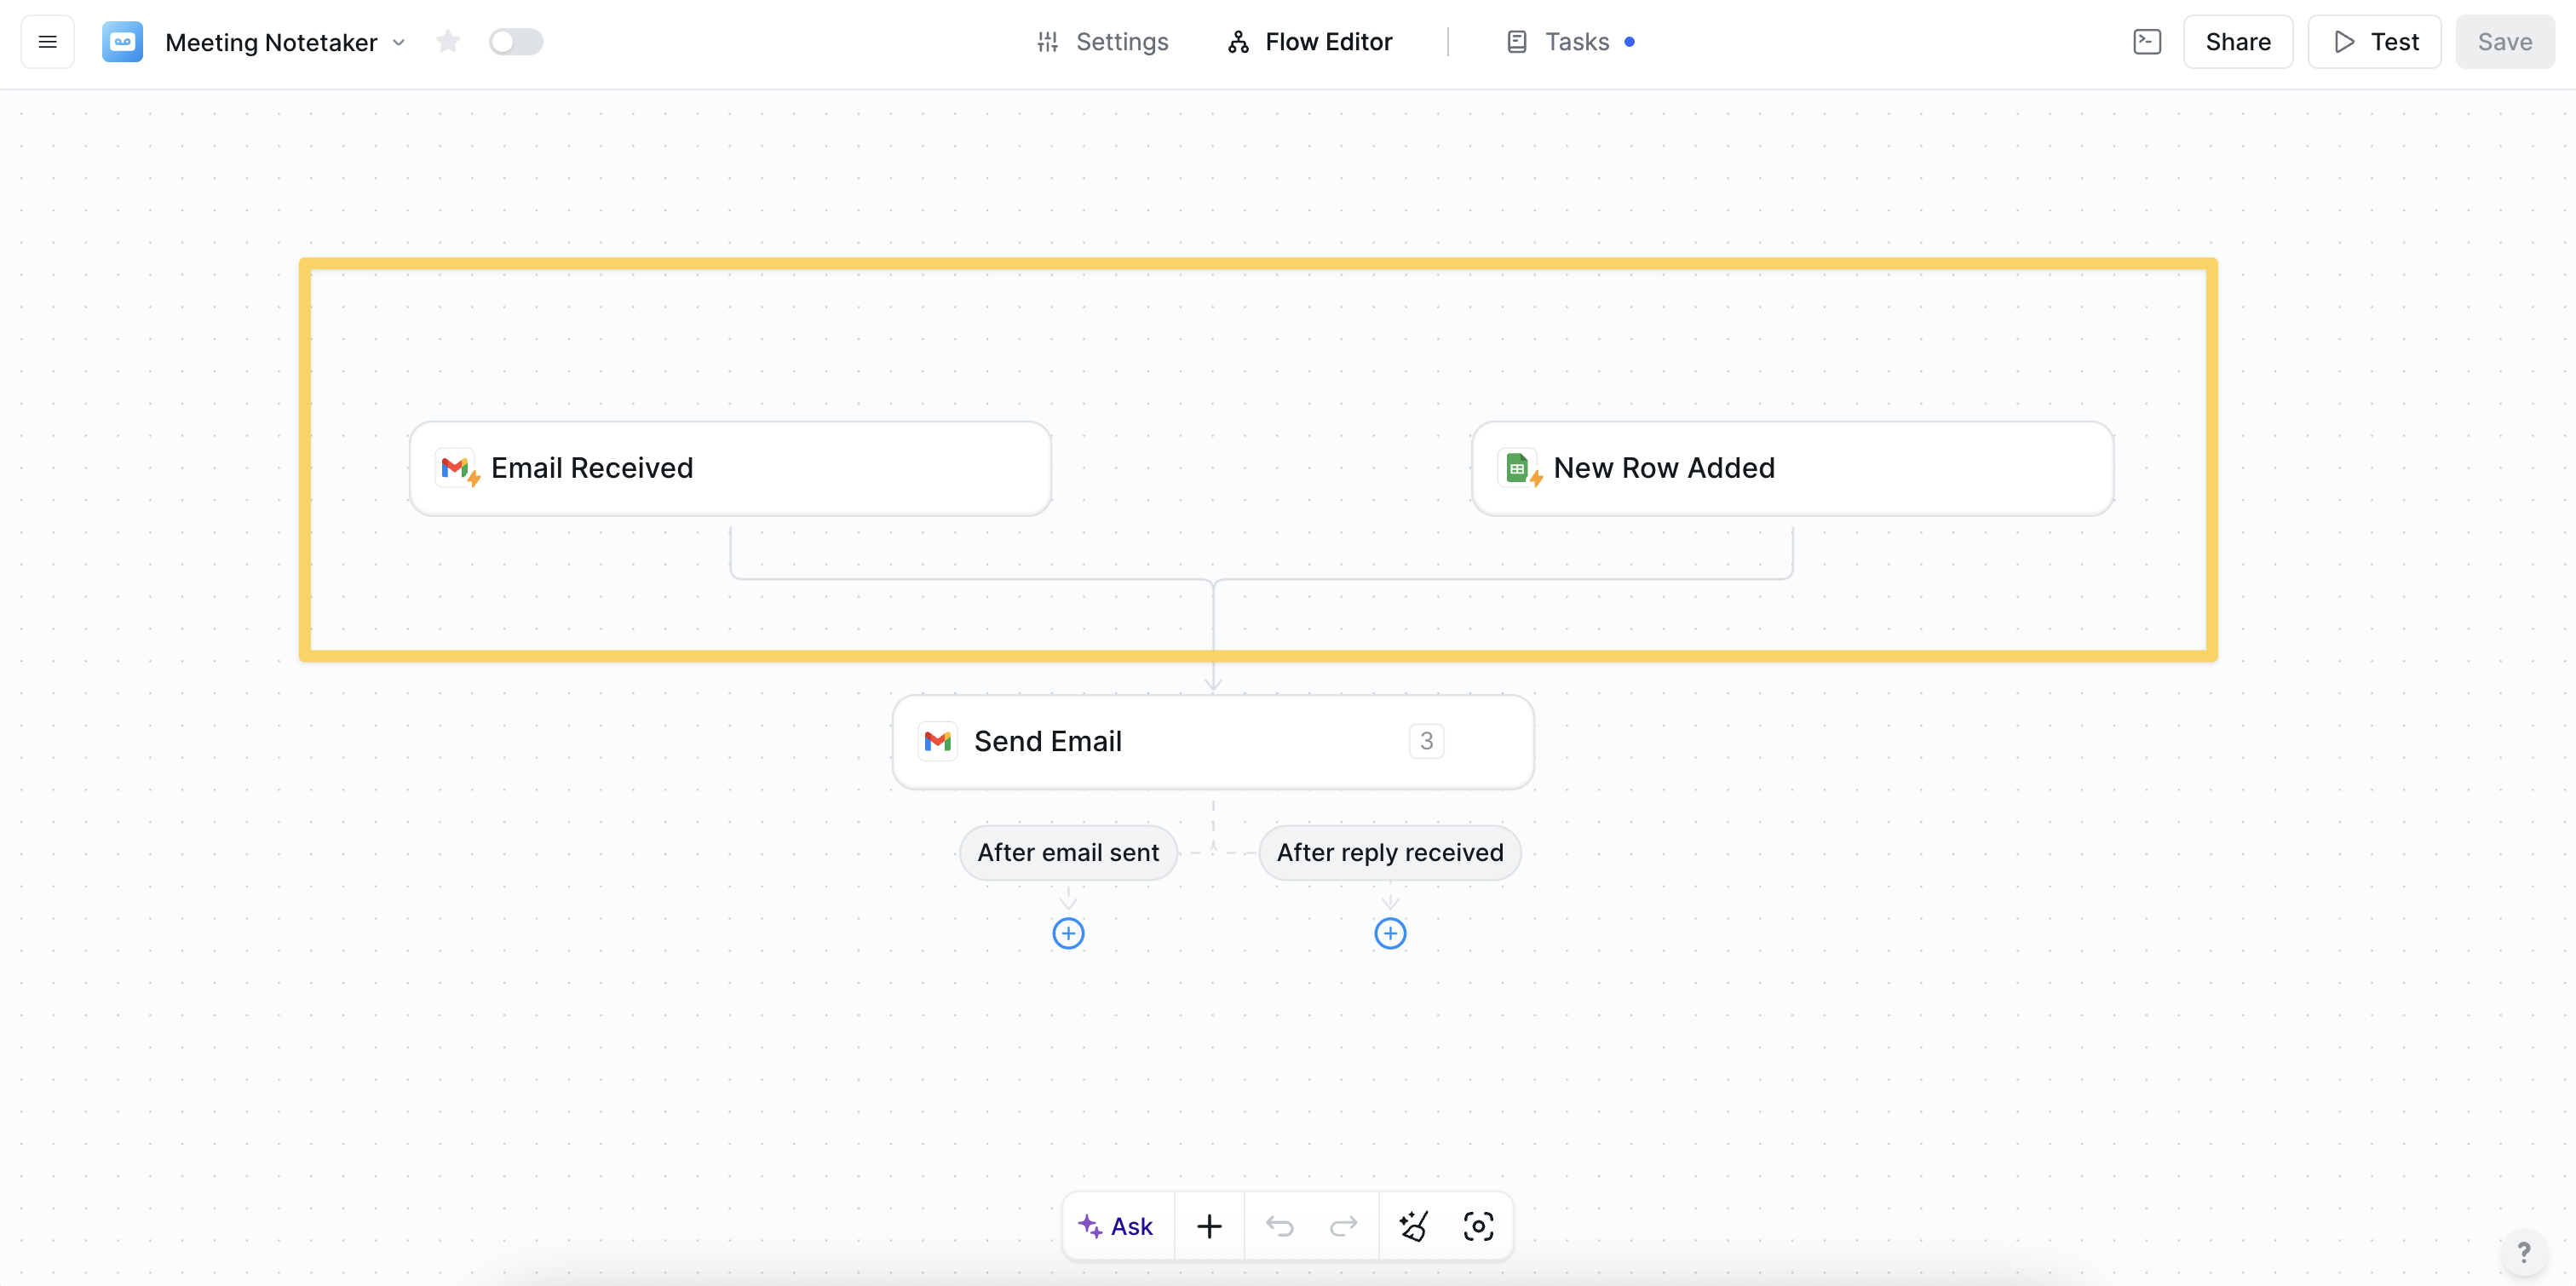
One Lindy can have multiple triggers, either initiating the same workflow or triggering entirely different ones.Multiple triggers for the same workflow
For example, if you receive lead emails from a contact@company.com email address and also have a form on your website that sends leads to a Google Sheet, you can configure two triggers to aggregate your leads:- One trigger would be on an Email Received
- The other would be on a New Row Added to a Google Sheet
How to set up multiple triggers
- Create your first trigger and workflow
- Click “New Trigger” in the top left of the Flow Editor
- Add your second trigger
- Drag the grey arrow beneath the second trigger and connect it to the appropriate step in your existing workflow
A Lindy with multiple workflows
Under some circumstances, you may want your Lindy to have two distinct workflows. For example, let’s say you want to build a Meeting Notetaker Lindy that can also answer meeting questions in the Lindy app: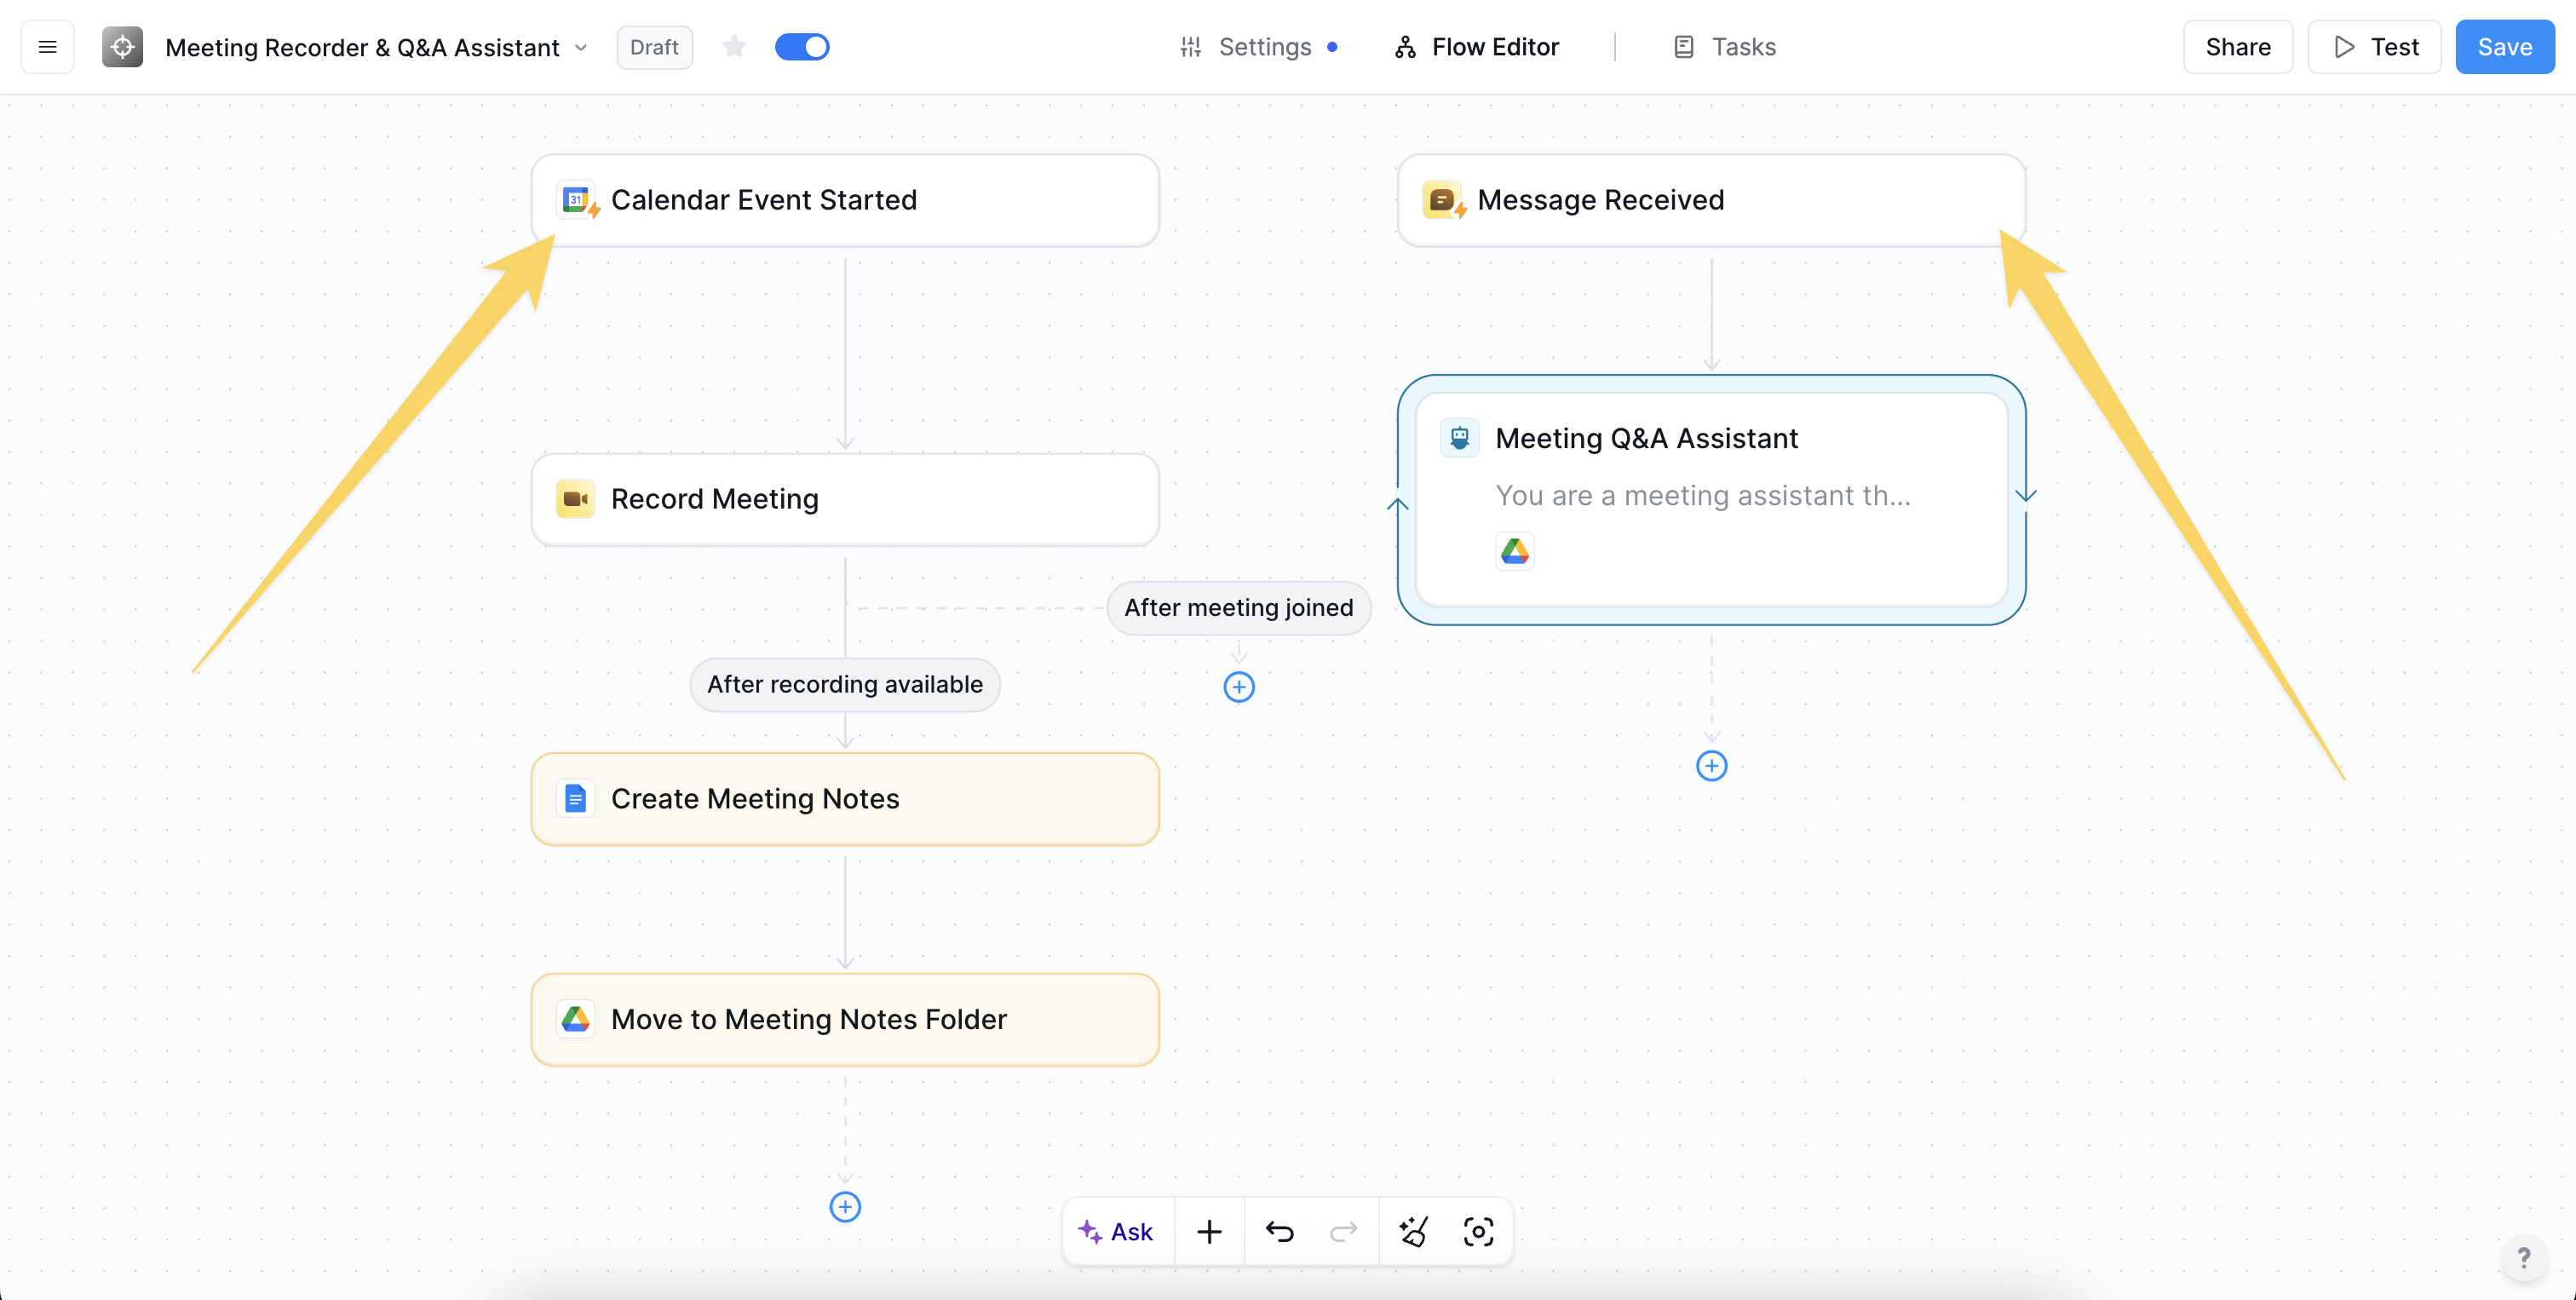
- First Workflow: Meeting recorder that joins your meeting, creates a Google Document with meeting notes and saves them in a Folder (triggered by Calendar Event Start)
- Second Workflow: Answer meeting questions with a Message Received trigger. This workflow begins when a user sends a message to Lindy, searches the knowledge base (which queries all the Documents in the Folder created by the first workflow), and then responds to the user.
- One workflow joins your meetings and takes notes
- The other allows the user to chat with their meetings and get instant answers to questions about their meetings
Next steps
Actions
Explore what actions can do in a workflow
Conditions
Route workflows based on logic
Quickstart Guide
Build your first Lindy in minutes
Templates
Jump-start with pre-built workflows